Continue Reading...
Tired of nails that don't last a week? Don't have time to do your manicures and want something more durable? Permanent (or semi-permanent) nails are very likely to be your ideal solution, read on!
At .com we want to bring you this type of nail polish, since it is very likely that you will find it very interesting thanks to its many advantages. That is why we give you the step-by-step keys to achieve perfect permanent nails .
It should be said that although it is commonly called "permanent" the best definition is "semi-permanent ". It is obvious that the nails will not remain polished for life, but if you read this post, you will wear a beautiful polish for a long time without having to worry about it.
In this guide we will see:
When you finish reading this guide, you will be an expert in permanent polish and you will be able to wear some scandal nails for as long as you want, shall we start?
You can not lose this!

Before we start, we must put ourselves in the situation and know the advantages and characteristics of semi-permanent enamelling. The main advantage is the obvious one: we will get shiny and perfectly enameled nails for 3 weeks , how? Thanks to the union of semi-permanent varnishes to nail lacquer and drying by means of LED or UV rays that make the enamel adhere instantly and for much longer.
Semi-permanent enamel is ideal if you do not have much time or because of your daily routine, normal enamel lasts very little or wears out very easily .
But it also has more advantages such as its comfort, the perfect finish that it leaves ... even so, not all of them are advantages, permanent nails also have their disadvantages and we have to take them into account before opting for one type of manicure or another.
There are disadvantages to take into account such as that polishing gels are generally more expensive than traditional ones, or the main drawback, that permanent enameling weakens the nail, so it is advisable to leave a period of time for the nails to rest. between uses so that it breathes and recovers. It is also important to bear in mind that to be able to remove this permanent enamel quickly it is advisable to go to a beauty center.
In order to start having permanent nails, we first need to know what we are going to use, so that we have everything prepared and that we do not lack anything in order to achieve a perfect permanent manicure.
To do this, we will need the following:
Head over to the top link to get everything you need. Now you are ready to start preparing your nails for a permanent polish, so… let's get started!
To achieve an impeccable final result and for the enamel to adhere perfectly to our nails, we must first prepare them, so first we must disinfect our hands and nails with the disinfectant gel, then we will wash them with water so that they remain totally clean .
We will focus on the cuticles first . We will apply the cuticle softening oil on them and with the orange stick and with great care and gentleness we will push the cuticles back. It is very important that you use the cuticle remover if you have any loose skin.

Once the cuticles are perfect and our nails clean, we begin to shape our nails with the file to our liking . We advise you to start at one corner and slide the file to the other end in one direction only, but if you usually file your nails in other ways, you can do it in the way you like best. Also, you can give your nails an oval, round, square shape, etc. Here you rule!
A trick: Pass the file over the surfaces of the nails so that they are porous and thus achieve that the polish adheres much better and get permanent nails for even longer.
We already have our nails ready for permanent nail polish! Now we must apply the gel primer on them and let them dry (without the lamp, in the open air). Once dry we will apply a top coat base layer and, now, we will place our nails in the UV light lamp for two minutes to dry. It is important that we do not forget this step since the base top coat protects our nails from the components of the enamels, in addition, they harden and extend the duration of the enamel.
Once we dry our nails with the UV light lamp, it is time to apply the first layer of permanent polish. This first layer must be very thin, since if we go over it it could wrinkle or flake after a few days. Once the first coat is applied, we will put the nails back in the UV light lamp and wait another two minutes for it to dry .
Again, we will apply a second layer of permanent polish, sealing the cuticle area well and applying it to the entire nail, and as you can imagine, we will dry the nails again in the UV light lamp.
Later, when we have our nails with permanent polish, we have to seal the paint with a layer of top coat and dry it in the UV light lamp , what is this layer for? This thin layer will help us to show off much brighter and more beautiful nails, so it is a step that we should not forget either.
Finally, if you prefer that we tell you in video how to apply the permanent enamel so that you do not have any doubts, you can always take a look at our video about the Gellack permanent manicure
Clever! We already have dream permanent nails. No matter how long or tedious it may seem to perform this treatment, don't worry, it takes less than half an hour.
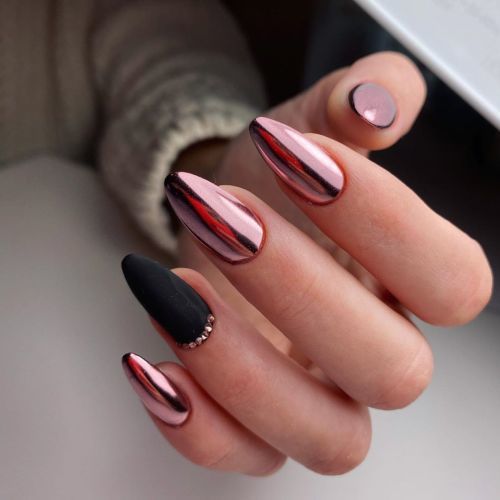
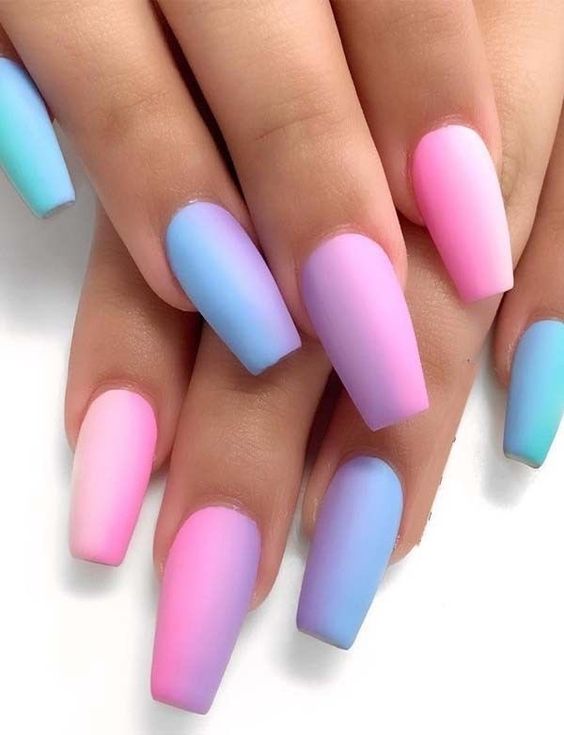
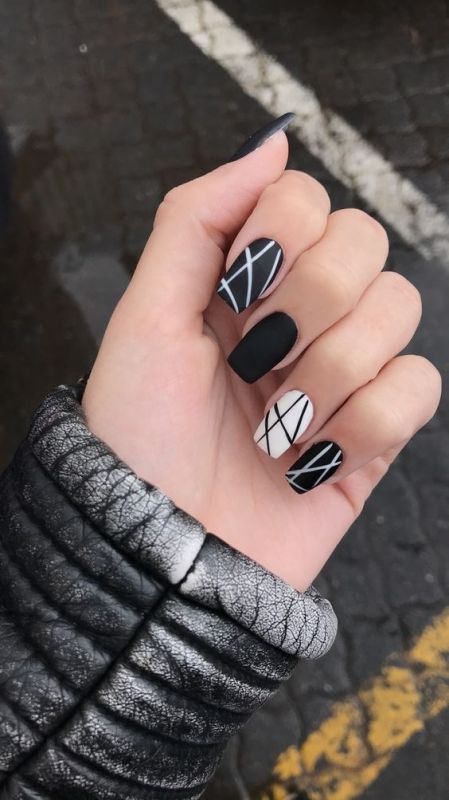
Just as clothing and makeup vary according to fashions, the exact same thing happens with manicures. If you want to be up-to-date in manicure, don't worry, at .com we tell you the latest in manicure so you can see if you like any of them or to get inspired and make your own creations. Stay tuned!
And since you are many more, it is only a matter of trying and finding the style that best suits you.
It is recommended that to remove the permanent enamel you go to a beauty center, since the process of removing this enamel is a bit long , but if you still prefer to remove it at home, do not worry, we will explain below the best way to remove this polish and let the nails breathe.
The first step to remove the permanent enamel is to disinfect our hands with the disinfectant gel, giving special interest to the nails. Once disinfected, we wash our hands and take a cotton pad that covers the entire nail that we want to remove .
One tip is to prepare ten pieces of cotton that cover the size of your nails (one for each nail) and ten pieces of aluminum that cover the size of your fingers , so it will not be so complicated and you will have everything at hand.
We start by soaking a cotton ball with traditional nail polish remover and covering our nail with it. To ensure that the cotton holds well, we cover it with the aluminum foil. We repeat this process with all our nails and let it rest for 15 minutes . This will make the enamel weaker and easier to remove.
Once this time has passed, we remove the aluminum and the cotton very gently towards the outside. We will see that all or most of the enamel has been removed, but if there are remains of enamel on our nails, we will use the orange stick carefully to remove it .
It is a process that not everyone has time to do or does not like, so we recommend going to a beauty center, but if you have patience, nothing better than taking it off at home.
We already know that permanent nails have the disadvantage that they are a bit aggressive for our nails and therefore weaken them with their use, therefore, we will also propose a series of cares so that our nails are perfectly nourished and recover quickly from damage. damage caused by permanent enamel . Let's see it next.
First of all, we recommend cutting and filing them a bit, even on the surface. Afterwards, we will apply a nourishing serum to promote nail growth and a repairing oil that we will spread throughout the nail and the entire cuticle, the oil contains essential and nourishing properties for the nail and the cuticle area.
We allow both the serum and the oil to be absorbed and then to finish nothing better than applying a moisturizer to keep our nails and hands cared for.
As an extra treatment, we can also apply a thin layer of some nourishing treatment with keratin , since this protein is essential for the formation and strengthening of our nails.
The recommended thing so that our nails have time to breathe is that we do not paint them again until after 24 hours or so .
We hope that with this article you know well the advantages and disadvantages of permanent enamel, how to apply it so that you have perfect nails and that, if you want to remove it, you will know how and also you can give them the care they deserve later.
You already know everything you need about permanent manicure!
Before leaving, we recommend that you visit our Gellack , Essence, Catrice , and Gel Touch section , where you can find many other products related to the care of your nails .
Thank you! And remember, if you liked it, go ahead and share it on social networks. And if you have any question, don't hesitate to leave it in the comments.
Until next time!