Continue Reading...
If you are looking for information on how to straighten hair , the types of straightening that exist, and everything that needs to be taken into account to enjoy straight hair, either permanently or temporarily, you are in the right place.
At we care about providing our readers with the most valuable information possible, and we know that it is often difficult to find the straightening that suits us best.
That is why we have developed this guide where we will tell you everything; stay tuned because when you have read it to the end you will know everything there is to know to have straight and healthy hair.
In this guide we will see
Ready to know everything about hair straightening?
We started
Before continuing, you have to be clear that the word "permanent straightening" in this case is not correct. The ideal would be to use semi-permanent straightening , since, obviously, the straightening that we explain below is not for life. Throughout this post we will always use both terms but we will always be referring to the same thing.
The difference between a permanent and a temporary straightening is that the permanent will last a long period of more than 3 months, and will not be lost with washing the hair.
In the case of a temporary straightening, a good wash, or even humidity in the environment, will suffice to return to your original curls.
You also have to keep in mind that all permanent straighteners use chemical compounds . These compounds will be more or less aggressive depending on the straightening you choose. In this article we will inform you of all this.
1.Rupture of the hair cuticle , which are the natural molecules that hold the hair fibers together.
2, Fill these openings with the basic product used for each type of straightening.
3.Hair ironing
4. Post-treatment.
Do not be scared by the phrase "hair cuticle breakdown" , as it is a technical way to name the process that your hair undergoes during the first phase of straightening, and that is absolutely necessary for it.
The cuticle is a natural protein made up mostly of keratin , which is naturally present in hair. By breaking this cuticle, the hair will become straighter.
The key to straightening is to fill in this cuticle that we have broken, with the determined product, in the case of the Brazilian straightening, it will be keratin again.
Once the previously broken cuticle bridges have been filled, we mold the hair to our liking, in this case we will straighten it.
In the case of perms, the process is the reverse: once the cuticle bridges that keep the hair straight have been broken, it is molded to curl it.
Once this is cleared up, if you want your hair to look straight for several weeks and even months, you should use one of the following techniques.
Let's go for the first one!
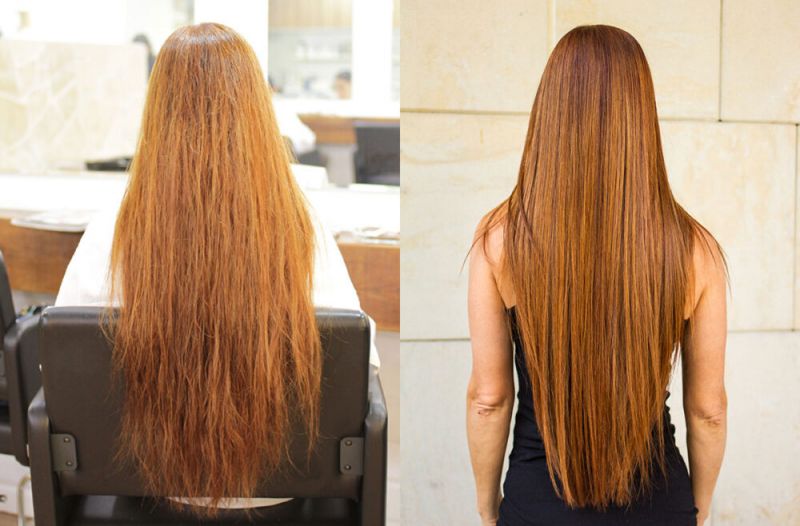
This type of straightening is perhaps the best known of all types of permanent straightening. The main ingredient on which it is based is Keratin (or keratin)
It is considered the safest chemical permanent straightening, since it is based on the filling of the "holes" that are left in the hair based on Keratin, and not on other products such as formaldehyde.
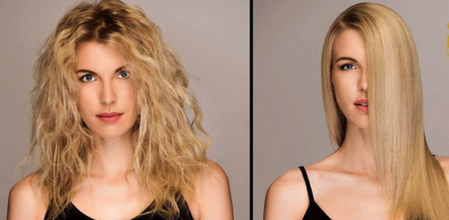
The application of natural Keratin in the cuticle of the hair, causes a reduction of frizz and curl around 95%.
Keratin is responsible for making your hair soft and shiny. Also, if you have damaged hair, this keratin will serve as a restorative.
It is a type of straightening that you can do in your own home, with a Brazilian straightening kit, or in hairdressing salons.
The procedure to achieve the optimal result is long, but as they say
Who wants something, it costs something!
If you have dyed hair, keep in mind that this type of straightening can reduce the hue of the dye a couple of tones, so it is highly recommended to dye your hair after practicing keratin straightening.
a) It is safe
b) Leaves hair shiny
c) Relatively inexpensive
d) Valid for all hair types
e) Free of harsh chemicals
a) If it is done in hairdressing salons, the price goes up ostensibly
b) Not recommended for pregnant women: although the compounds are safe, no semi-permanent straightening is indicated in pregnant women.
c) You need to use sodium chloride-free shampoos in the post-treatment, is this a drawback or an advantage? 😉
e) If this straightening is abused, it may degenerate into a patent deterioration of the hair.
f) Beware of allergies. You must take into account your allergic condition, in case any of the compounds can cause a reaction.
g) Beware of dyes. It is not recommended to dye before straightening because the tone can be affected. The ideal is to dye days after the application of the treatment.
-You have to protect your skin and eyes in case any of the products falls on sensitive areas. They can become irritated and cause unwanted sensations.
-We have already mentioned it, but do not abuse the treatment. It is recommended to do it only once a year and leave a space of 6-7 months to do it again.
If you are scientifically curious, you can find more information about keratin or keratin, by clicking on the following link
https://en.wikipedia.org/wiki/Keratin
It is suitable for all types of hair.
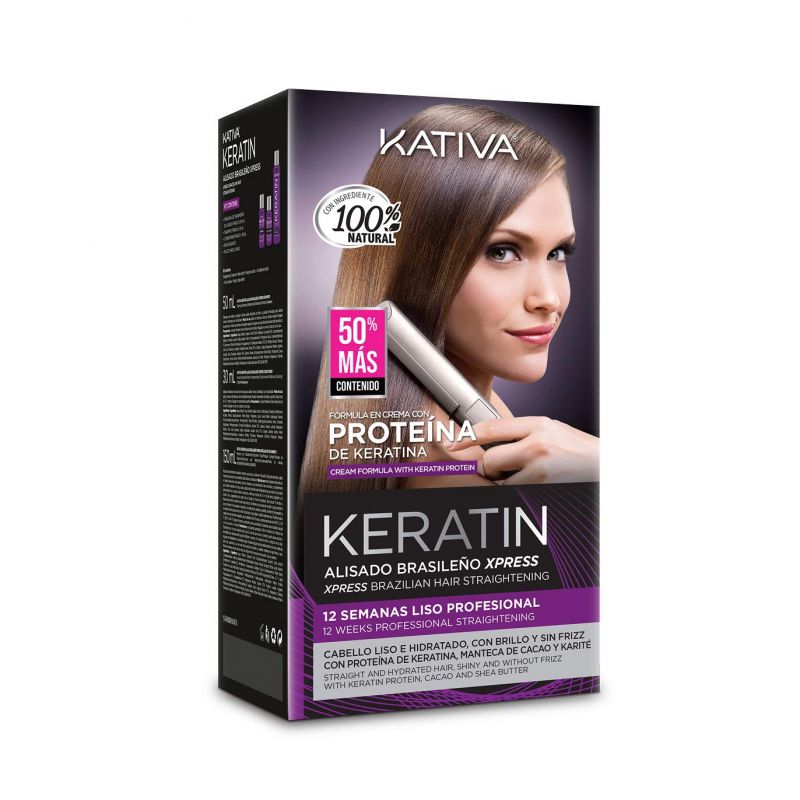
If you want to get the Brazilian Straightening Kit Kativa, click on this link.
Shall we move on to the next one?
Japanese straightening is also based on the application of a chemical product, but in this case it is a little more aggressive than keratin. The starting chemical compound for Japanese straightening is Ammonium Thioglycollate . That is, a type of ammonia, but of low toxicity.
This type of straightening was created in the mid-90s by the Japanese Yuko Yamashita and had a great boom during the end of that decade.
The process is similar to other permanent straightening:
1.Application of pre-smoothing cream
2.Washing
3, Ironing
4.Application of ultimate smoothing cream
5.Washing with specific shampoo.
6.Drying
It is recommended that this type of straightening be applied in specialized hairdressing salons . It is true that nowadays there are also kits to be able to do it at home, but the process is somewhat more complex than the Brazilian straightening, as well as the products used are somewhat more aggressive. That is the reason for this recommendation.
We went on to a type of straightening that was very successful in the United States
We once again emphasize that the basic principle of all permanent or semi-permanent straightening is the breakdown of the natural molecules that are naturally present in the hair. This is called in English “bonds”.
The fact of breaking these natural molecules or bonds makes the hair weaker and straighter, which is why it is easier to straighten.
The secret to not deteriorating the hair is to do this process correctly, applying the appropriate steps and products.
In this type of chemical straightening, post-treatment care is essential to maintain the health of the hair.
The procedure is similar to those mentioned above:
-Washing, application of the preparatory product, application of the specific product, ironing, new washing and drying.
The differences between Brazilian straightening, Japanese straightening, or chemical straightening, is basically the type of product that is used to break down the natural molecules of curly hair.
The following straightening does have a greater differentiation
Photon hair straightening or photon hair is based on the application of keratin to repair and nourish the hair, and the subsequent application of photonic light to fix the treatment and thus make the hair smooth.
There is some controversy regarding this treatment, since on many occasions it is advertised as that the Light is responsible for straightening the hair, and it is sold as a totally innocuous type of treatment without chemicals.
This is not entirely true, since the only thing that light does is accelerate the keratin process, achieving results in less application time than other techniques.
But on the other hand, by using less chemicals, it is also true that the treatment is less effective, and fails in a higher percentage compared to other straightening treatments.
Taninoplasty
It is an innovative treatment with natural compounds called Tannins.
We have an excellent post about taninoplasty, which you can find at the following link.
And now we give way to other types of straightening:
Once the list of permanent straightening, or better called Semi-permanent, is finished, we are going to list and briefly explain the types of traditional straightening, which are based on heat as a basic element.
We start with a classic
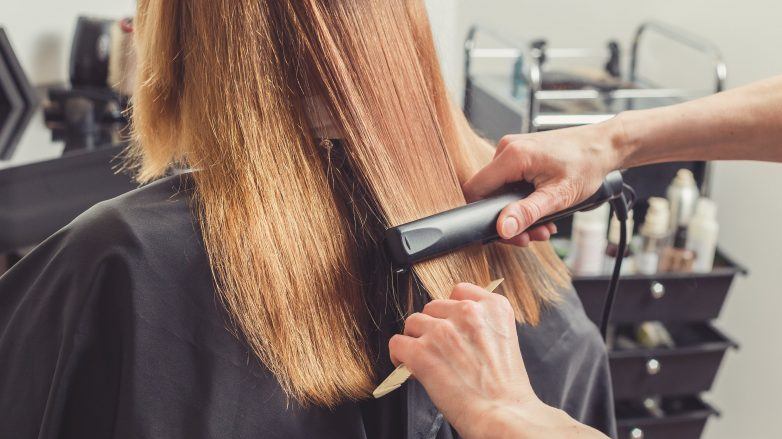
Straightening with irons
It is one of the most common temporary straighteners. In fact, there are countless plates available on the market.
It is convenient to choose quality plates, and that have temperature control. These types of irons treat the hair gently and achieve a shiny finish. At the end of the article, you have more information about this.
Ideally, you should follow these steps.
Start to apply the iron in one of the sections that you have divided, and do it from the roots to the ends. You can repeat the process, but not more than twice to avoid overheating your hair.
Once you have completed the process in all 4 sections, let your hair cool completely, and optionally, you can reapply the nourishing serum to give it more shine.
If you follow these steps you will get an excellent temporary straightening, and without damaging your hair.
We go to the next
It is also widely used, despite not getting the good results that the plates offer.
The good thing about it is that it is less aggressive by not applying heat directly to the hair.
It also has its steps, sharing the first 4 with straightening with irons. In this case, we replace the plates with a dryer and a brush, a brush that can be flat or round.
If we use the latter, we must put it under each strand of hair, and place the dryer about 10 centimeters from it. Remember to start at the roots and move the brush down, curling your hair to the end of the mane.
This process can be repeated two or three times , and remember to do it in sections.
Using the nourishing serum at the end is optional, but highly recommended.
As general recommendations to heat straightening, it must be said that it is convenient to previously protect the hair. There are specific products for this, and Aloe Vera can also be used.
To finish the list of types of straightening, we will briefly mention straightening with tweezers and hairpins. This type of straightening is valid only for people with slightly wavy and not curly hair, and a good brushing of the hair beforehand is recommended to obtain a minimum of result.
Once you have seen the types of permanent straightening and temporary straightening for hair, as well as their advantages, disadvantages, types of hair suitable for each type of treatment, etc. we go to the next section of this article
By following these little tips, you will get better results in straightening your hair.
Pre-straightening treatments.
If you plan to do a straightening, either permanent or temporary, it is ideal that you prepare your hair and scalp for it.
There are many products on the market for this, among which we will highlight the anti-frizz serum.
In addition, this type of product will give your hair more shine.
Brushed
It is convenient to brush it daily, this will make your hair tend to stay straight for a longer time, and will slow down the frizz process.
Hair drying
Never rub your hair with the towel, in this way you will avoid damage to the scalp and the consequent weakness of the hair.
As much as possible, let your hair air dry, and if this is not possible, use the dryer at a low temperature.
Post-straightening treatments
If you have subjected your hair to a permanent straightening, post-straightening treatments are essential.
Both to maintain the straightening, and to protect and nourish your hair.
Each manufacturer has its own line of products for post-straightening treatment.
Let's finish
Hair straightening irons
If you have read this far, you should already be quite clear about the type of straightening to which you are going to subject your beautiful hair. To finish the article, we will mention the different types of hair straighteners that exist, since you will have to use some of them to achieve optimal results.
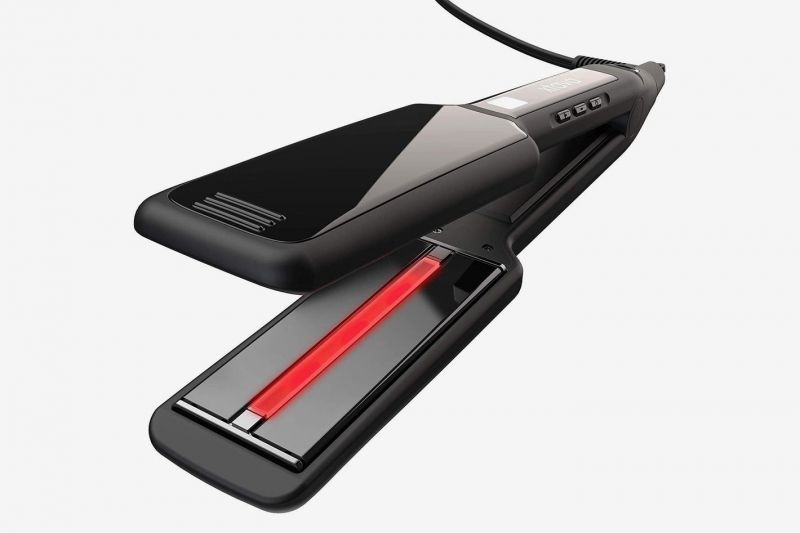
There are different types of materials for the manufacture of hair straighteners
We recommend the Titanium plates or the ceramic with tourmaline, since due to their characteristics they are ideal for straightening hair.
For hair straightening, the ideal would be medium irons, which allow greater support on the strands of hair, but which, in turn, have greater versatility than larger irons. Narrow flat irons are mostly used to make waves or curls.
The tilting plates allow a distribution of heat on the strands, in a more balanced and uniform way.
In this way better results are achieved. This type of plates are exclusive to the high ranges.
The latter are the result of advances in technology, although they still have a way to go. As no two types of hair are exactly alike, the ideal would be to opt for irons with a variable temperature, since fine hair does not withstand heat in the same way that stronger hair does.
Once we have arrived here, we are going to end this article and we hope that it has been useful to you.
Remember that each hair will require a different type of straightening.
Study your hair well and make the appropriate decisions based on it. In this guide we have clarified some things that you have to keep in mind so as not to make mistakes with your hair that you may regret in the future.
If it has helped you, we ask you to share it on your social networks
See you soon.